Expert’s Corner: Is Your X95™ Red Dot Mounted Properly?
Written by Rebecca Glessner
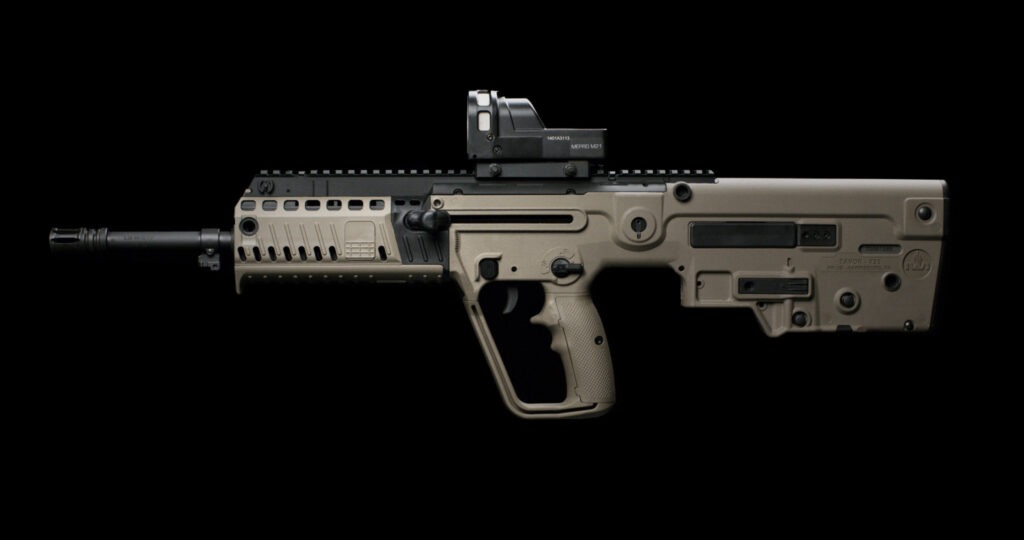
One of the great things about the TAVOR® X95™ is the ample amount of MIL-STD 1913 rail space that is available to mount various aiming accessories.
Because of the amount of rail space, a common question I am asked is where to mount an optic.

Choosing An Optic

Choosing what aiming device to use, outside of the built-in flip up iron sights which fold neatly into the rail, is mission-specific. Today we will focus on reflex optics. Typically a red dot or reflex optic allows the shooter to quickly engage their target at close distances without taking the time to align front and rear sights. The illuminated reticle is superimposed in the aiming view of the target. Not having to align rear and front sights also allows the shooter to have both eyes open and take in a larger field of view of the target and surroundings. Most shooters will find, depending on the reticle type and size, that they can easily hit their target at extended distances with practice.
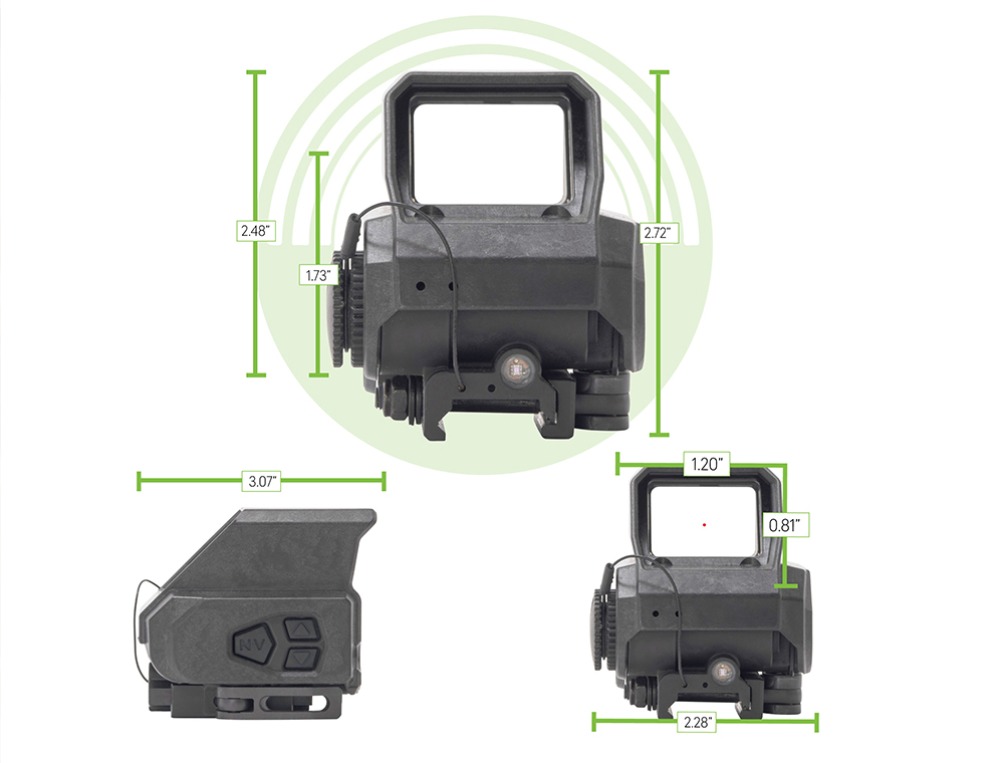
There are many brands and options to choose from to tailor fit the optic to each individual, such as reflex optic versus holographic, battery powered (Mepro True Dot® RDS) or fiber optic and tritium light source (Mepro M21), various reticle sizes and shapes, those with and without brightness level adjustments, different mounting options, different size height over bore models, etc. There are usually two height options with most optics: a true co-witness height and a lower 1/3 height. The lower 1/3 (which places AR platform iron sights in the lower 1/3 of the optic’s window) is the taller and more preferred height for the TAVOR® platform.
Steps For Mounting Optics On The TAVOR X95
No matter what brand or style optic you choose, mounting it on the X95™ is fairly easy.
- First ensure that the rifle is unloaded by physically and visually inspecting that the chamber, breach face and magazine well are free of ammunition.
- Place the optic around the middle of the rail length and ensure the optic rails are seated properly and pushed forward on the Picatinny rail.
- It’s best to make sure this placement allows access to easily raise the front and rear sights in the event the optic fails. Also ensure that you can easily manipulate the changing handle.
- If the optic is battery powered, turn it on and place the reticle brightness on its lowest setting.
- Tighten the mounting screws or throw levers down enough to secure the optic on the rail (not necessarily the whole way since you may have to move the optic).
- Shoulder the rifle and obtain a proper cheek weld.
- Keep both eyes open and make sure you can view the reticle clearly.
- Next, raise the front and rear sight and acquire a rough zero by adjusting the elevation and windage knobs or screws to place the reticle right on the top of the front sight post.
- This will save time and ammunition when zeroing live-fire at the range.
Once you find that you can easily get a sight picture with a clear view of the reticle co-witnessed to the front and rear sights, go ahead and tighten down the mounting screws or throw levers.
*Always refer to the manufacturer’s specifications on proper torque settings of your optic and accessory mounting screws, as well as the manufacturer’s specifications for zeroing your optics.
*Make sure you not only practice shooting with the optic, but also with the flip-up iron sights in the event your optic goes down or gets knocked loose.
Adding A Magnifier
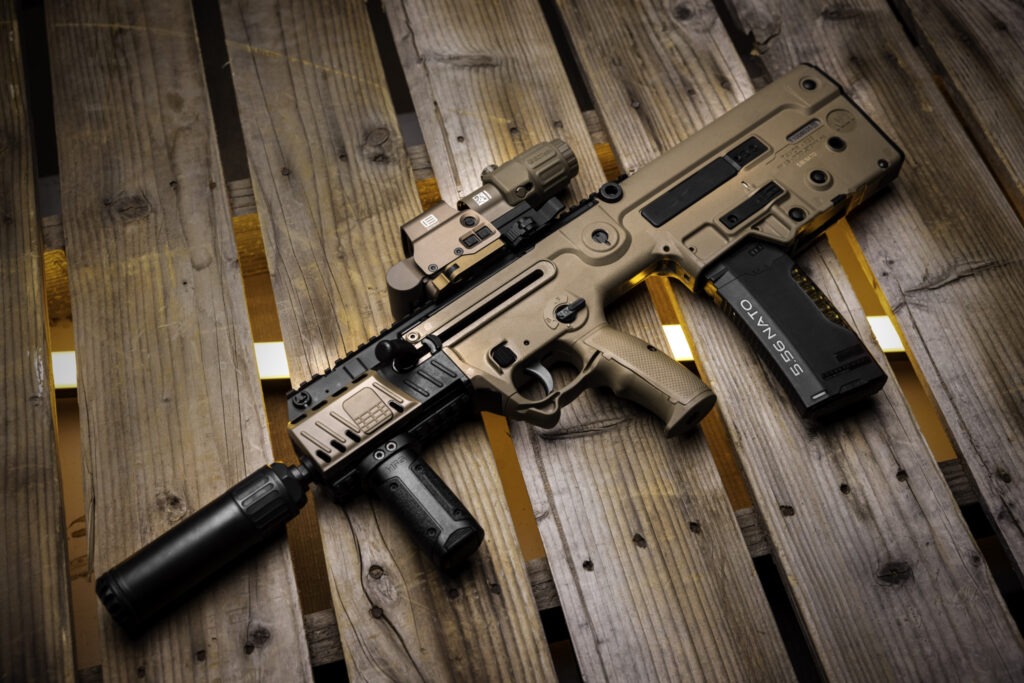
If you are going to attach a magnifier, such as the Mepro MX3 Magnifier, you do not necessarily need to leave enough room to access the rear flip up sight, since the magnifier disrupts seeing the front sight post.
Place the magnifier behind the red dot optic. Do not tighten the mounting screw or throw levers the whole way until you get a good check weld and obtain the proper eye relief. You may have to move the magnifier and red dot optic to achieve this. You want to make sure you have a clear view through the magnifier with no shadowing.
Final Adjustments
Make sure you have a clear field of view from all shooting positions as your check weld changes slightly from standing, kneeling and prone.
The X95™ top Picatinny rail offers plenty of room to mount other accessories as well, including night vision and laser aiming modules. If mounting multiple accessories, keep in mind with non-magnified devices, you always want to be able to access the front and rear flip up iron sights. Once you have proper placement on all accessories, it might be a good idea to place witness marks on the rail in case you need to remove anything for cleaning or repairs. If you have a screw mount, it may be necessary to witness mark the actual screws as well to make sure that, over time, the screws aren’t backing out. This will affect your accuracy if this occurs.
While mounting a red dot optic to the TAVOR® X95™ is relatively easy, proper placement selection is very important relative to what other accessories you may be using and its intended use. As you can see, there are many factors to take into consideration. The important thing is that you can see the reticle clearly and you can quickly, accurately and safely engage your target.

About Rebecca Glessner:
Prior to her position at IWI US as the Sales & Marketing Operations Manager, Rebecca served as a part-time police officer for both Steelton and Highspire Police Departments, and full-time police officer at the Pennsylvania State Capitol Police Department. She was the firearms instructor, armorer and the department Firearms Training Unit Coordinator. She also served on the Pennsylvania State Capitol Police Special Response Team as an entry member. She developed and instituted numerous firearms training programs as well as department firearms policies and procedures. Rebecca currently maintains her firearms instructor certifications.
